Step-by-step
| Start with the pre-cut fabric (8.75×7.5"), and make a 1/4" seam along one of the short sides. One after the other, I cut them loose afterwards. |
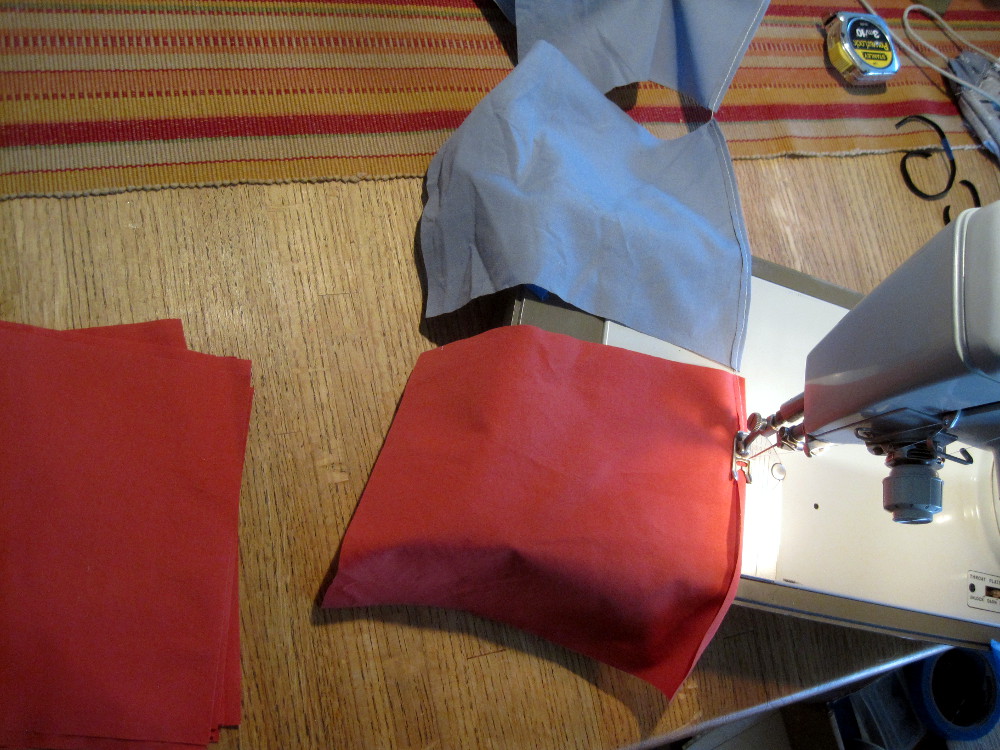
|
| Use the jig to fold and sew the front and back pieces. |
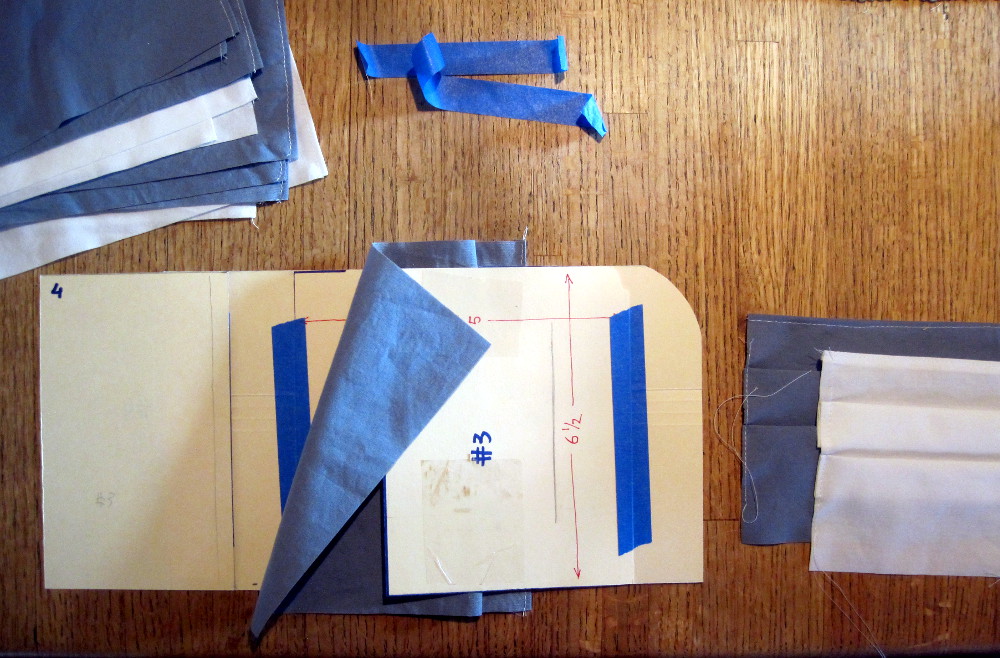
|
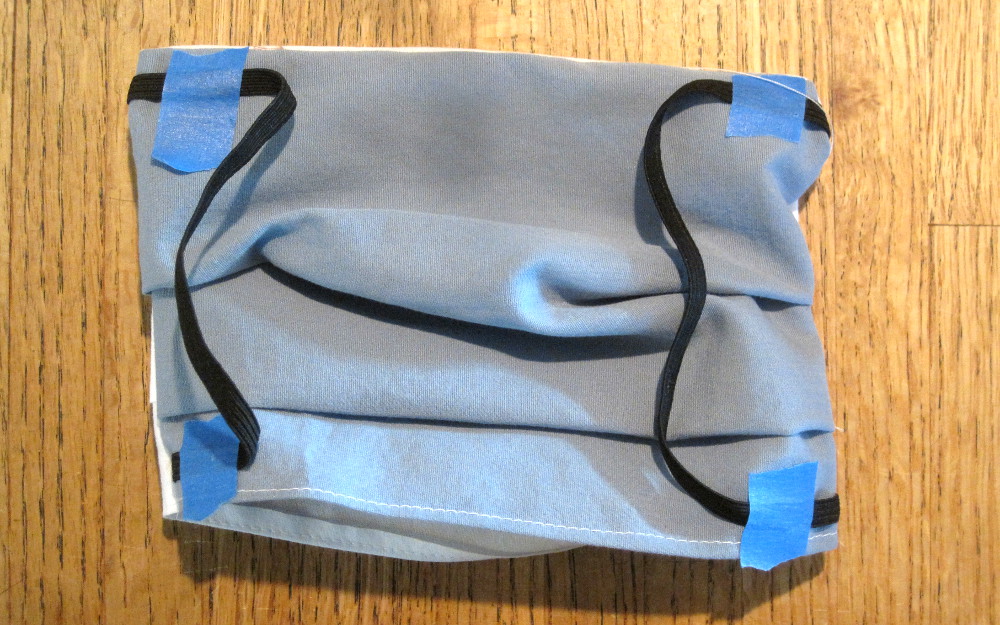
| On one of the pieces, tape down the elastic on the good side.
[I cut mine 7.75" long]
Keep the tape away from the left, right and bottom edges.
The tape can be re-used many times
[ If you're using bias tape, no tape is necessary ]
|

|
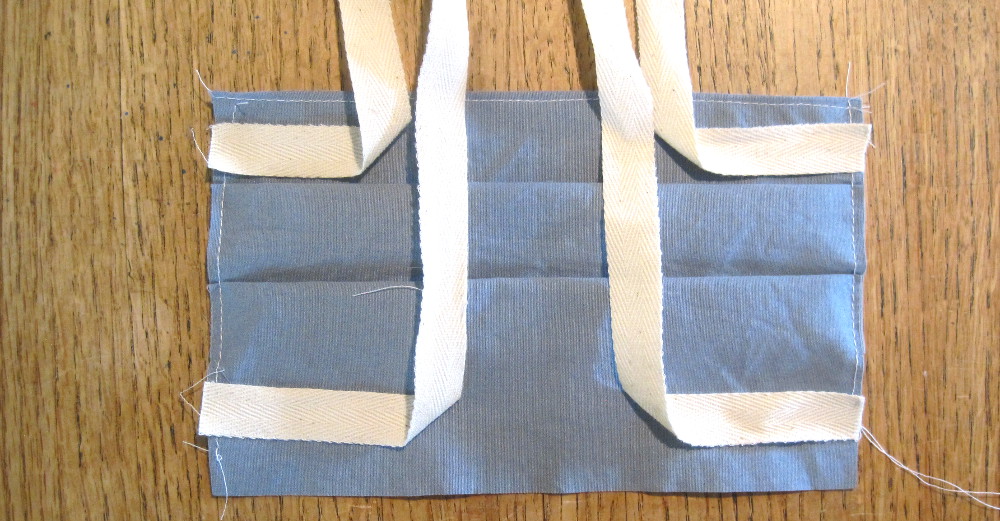
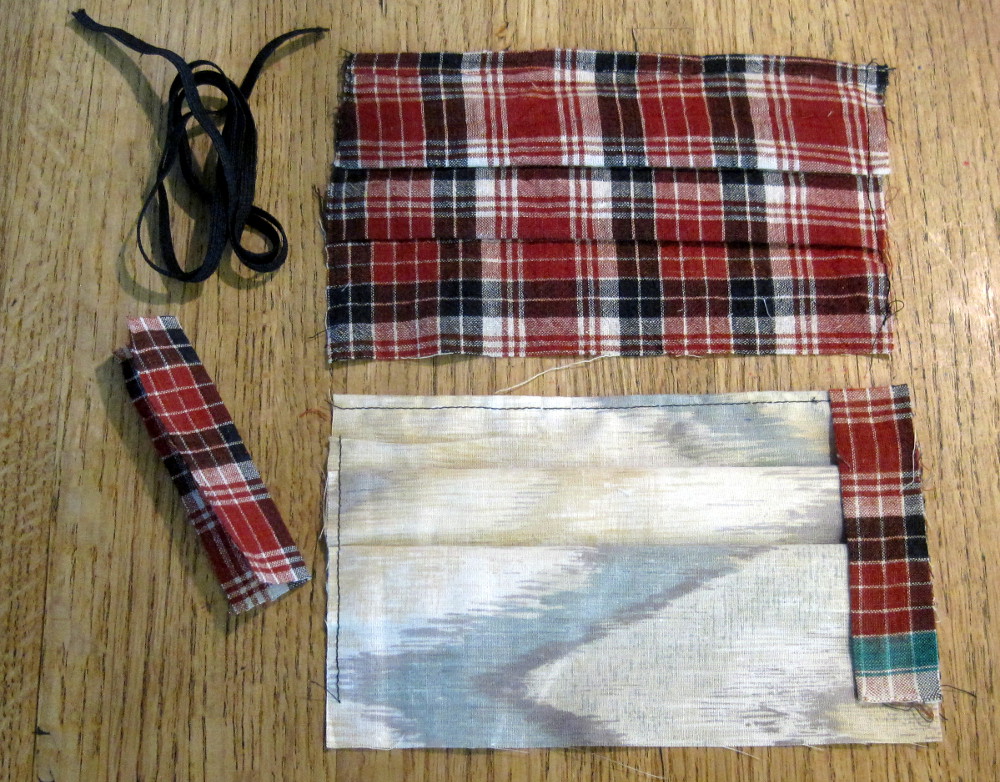
| Alternatively, to make the model that I like best, cut a pair of
2"×4" pieces, and fold them double and iron them.
They get placed along the sides, fold towards the interior. Notice these
sleeves are a little shorter than the back and front pieces. Align
them with the side where the 1/4" seam is, as shown. This ensures
that the other end stays open when you sew along the left, bottom, right.
|
|
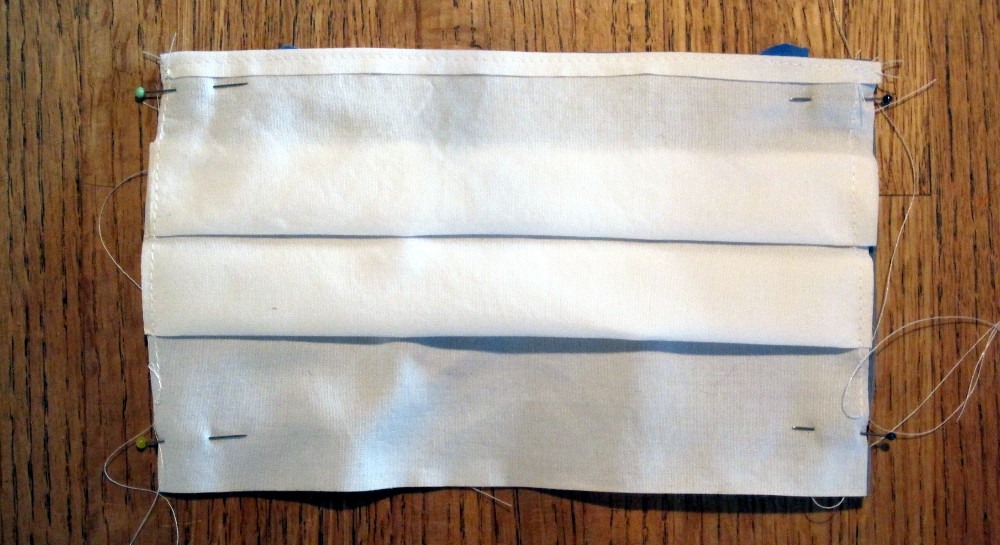
| Lay the other piece on top (not the seam on top), and pin at the location of the elastic. Sew the right, bottom and left. I do a little back-and-forth dance over the elastic. |
|
| Remove pins, turn inside out |
|
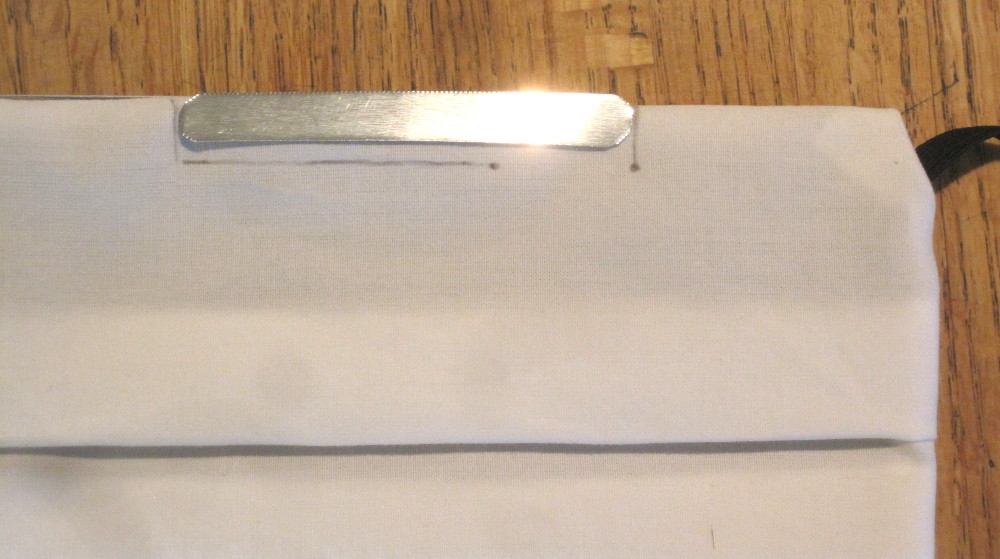
| Tape off, almost done |
|
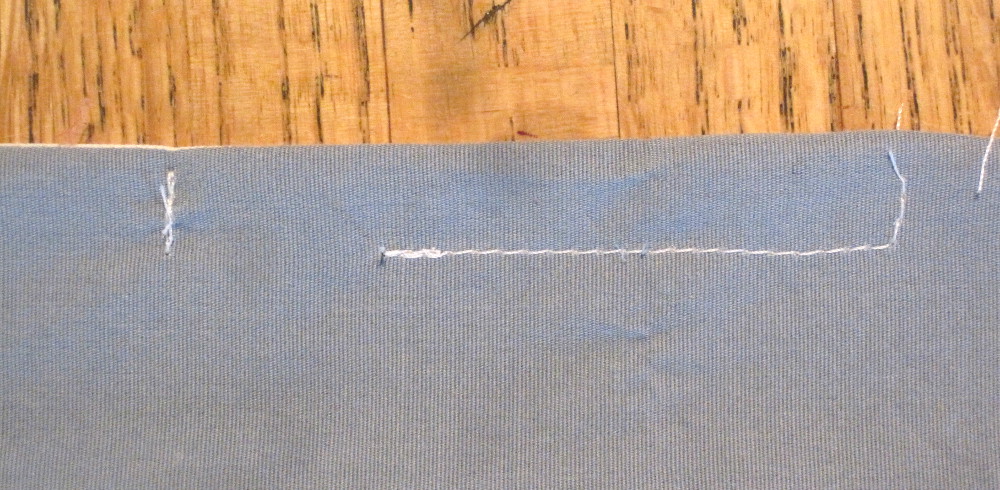
| On the lighter side, I mark with pencil around the insert. |
|
| Leave an opening in the stitching to slip the nose piece in. |
 Ā
Ā |
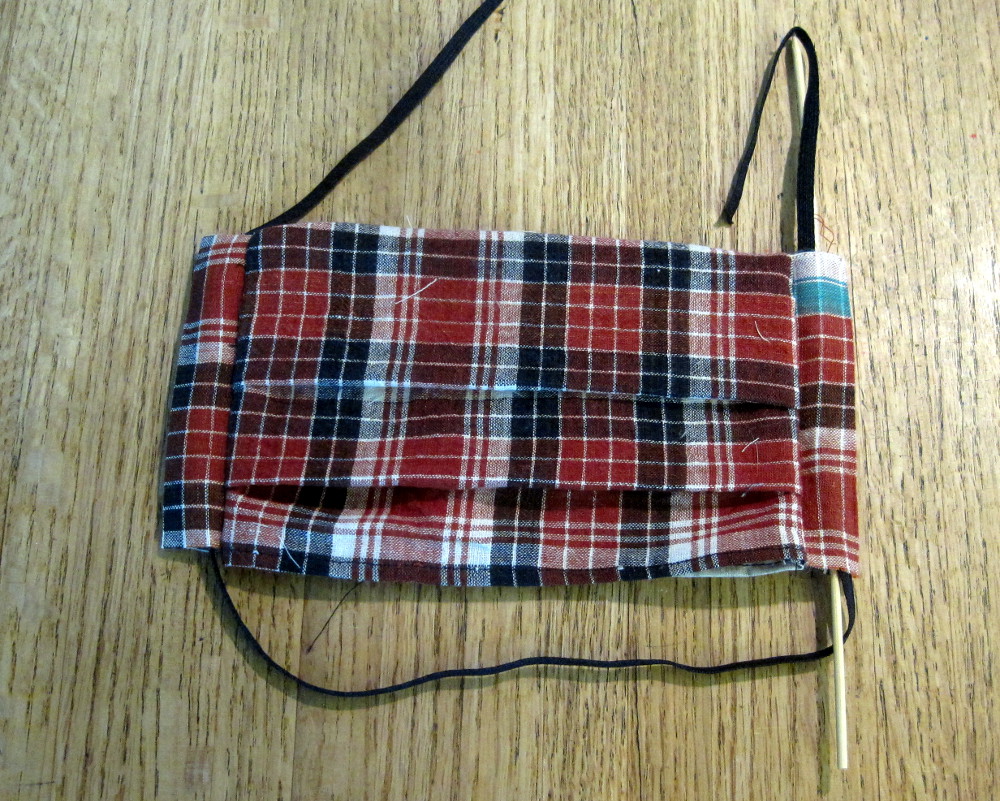
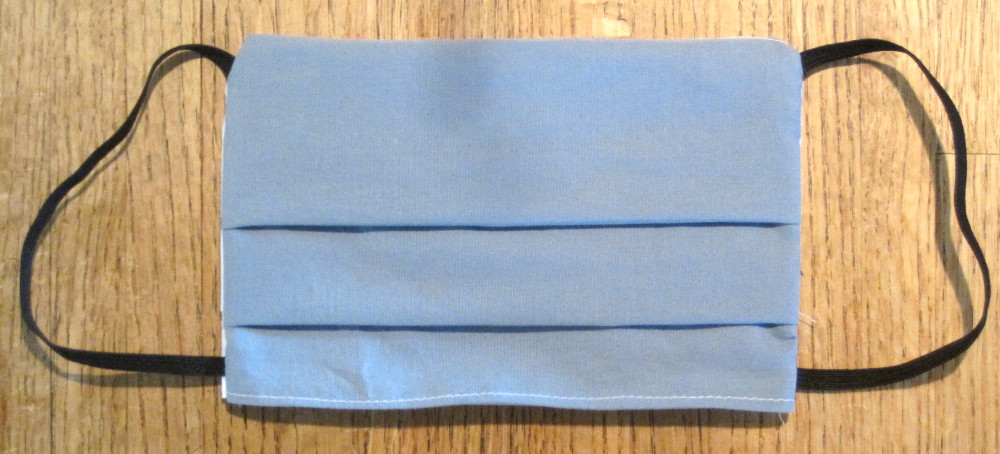
| Done! |

|