Gravity and black hole merger demo construction
|
back
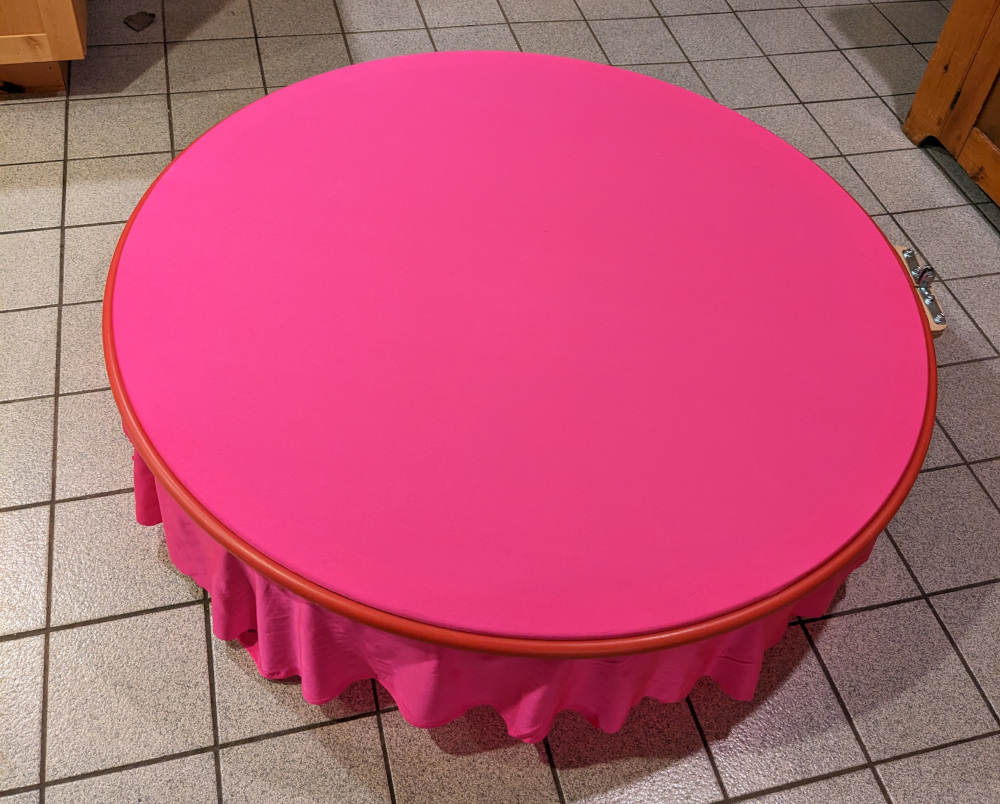
Inspired by Steve Mould's contraption, I had to build my own. Another one, by Dan Burns (On this demo, see the footnote all the way below). I made a hoop to stretch the Lycra sheet over. It is like a giant embroidery hoop. The diameter is about 46", which is the biggest object that fits into the back of our Subaru Outback. The hoop is made from two layers of 3/4" plywood, each hoop in 3 sections, glued and screwed together. These sections were cut on a bandsaw, so at this stage the outside surface is a bit rough, and not a perfect circle. I added temporary spokes, so I could put a nail in the center, which was driven into a board that was then clamped onto the table saw. This way I could rotate the hoop past the fully elevated saw blade and make a perfectly round and smooth outside surface. NEW IMPROVED In 2023, I made a copy for the Explora in Albuquerque. First, I cut the plywood on the Shopbot at Make Santa Fe, so I started with 2×3 perfectly circular segments. Here is the cut file. Then, before I glued the two halves together, I user the router table to cut half of the 3/4" groove in each of the pieces. So if you have access to a Shopbot, skip over the next paragraphs. |

|
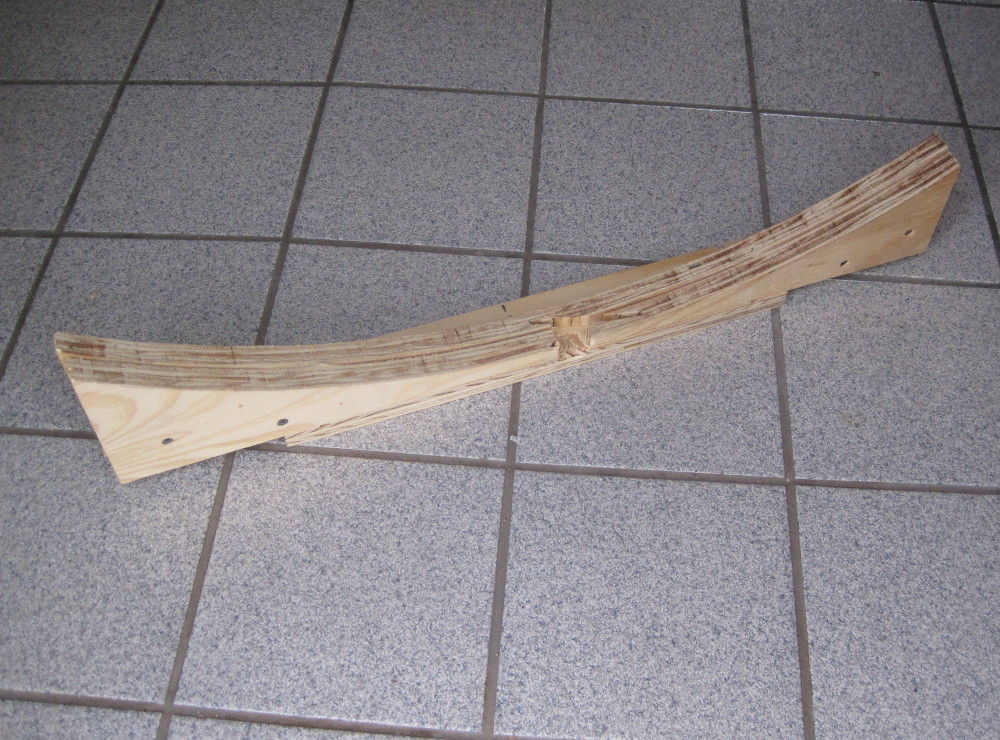
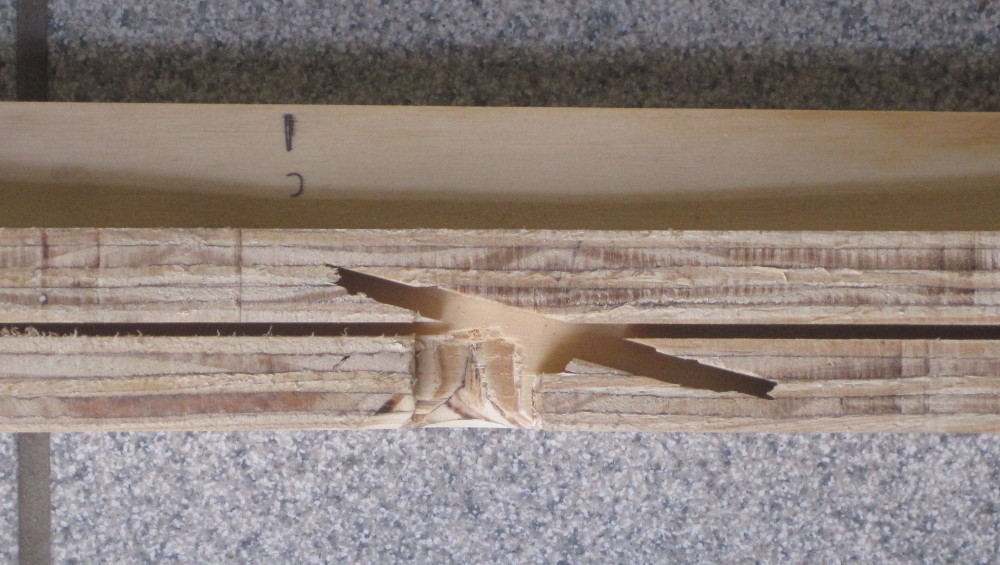
| Next I needed to make a ~half-circular groove into which the gray
tube would fit. This is what's left of the fixture I used to do that. If you
pass the hoop over the table saw blade at an angle, the blade will cut
out such a half-round groove. What is missing is a bottom plate, which was
clamped to the table saw, and 2 plates on either side, such that it made a
cradle in which the hoop could ride over the saw blade.
Here you can see where the saw blade was raised up through the fixture. For a 10" blade, and a 15° angle, the blade will cut a rounded groove a little less than 1" wide and 3/8" deep. I also rounded over the edge where the cloth would go over. The Lycra likes to catch on rough surfaces, so I sanded the whole thing, and gave it a few coats of Varathane so that all surfaces where the cloth would go were very smooth. |
|
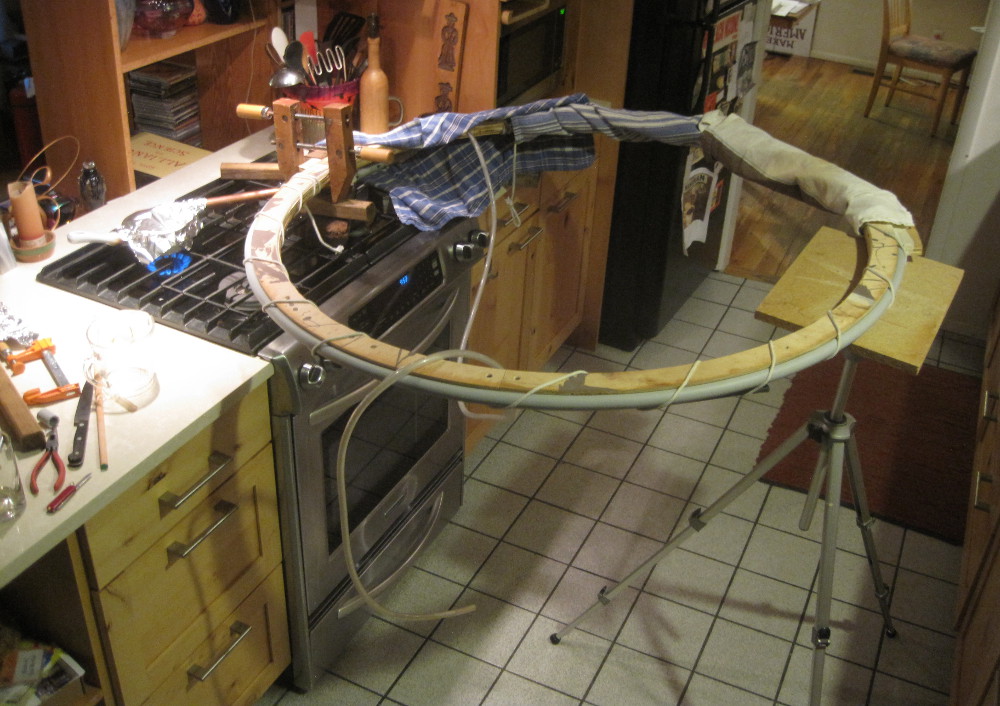
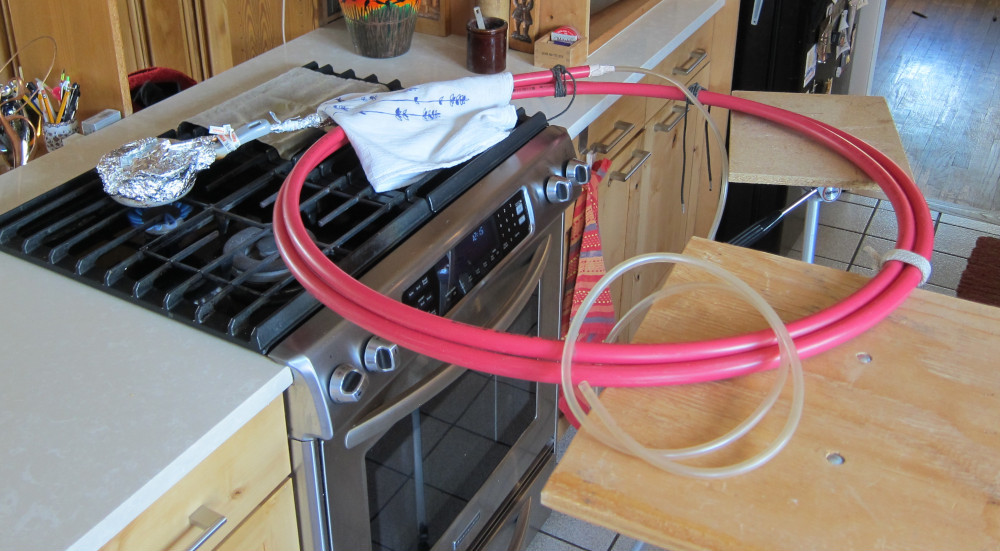
| The gray plastic ring that goes around the outside is 3/4" tubing,
which I had used some before to make hoops for our vetgetable bed covers, so
I knew it was flexible. However, bending it into a 48" circle still required
a lot of force, too much really. So since this plastic is a thermoplast, I
decided that applying some heat would help. A hairdryer did not do the job,
so I decided to blow steam through the tube. You can see the little pot on
the fire, with aluminum foil and a piece of copper tube to get the steam to
the plastic tube end. The 1/4" tube dangling was inserted into the other end
of the hoop so i could suck on it and encourage the steam to go all the way
around. All a bit clunky, but it worked.
NEW IMPROVED For the 2023 version, I used red 3/4" PEX instead of the grey tubing. It bends easier, and comes 20' lengths, so you can make it in a single loop. PEX is also a thermoplast, so I used the same setup to suck steam through the tube. As the plastic warmed up. I could coil up the tubing into smaller and smaller diameter. After cooling, it relaxed into the perfect shape.
|
|
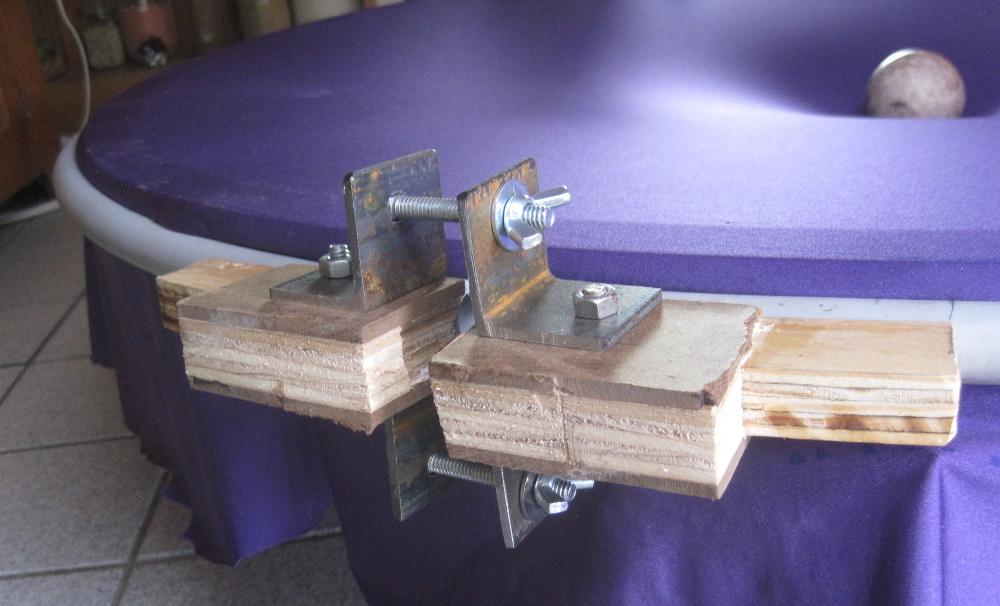
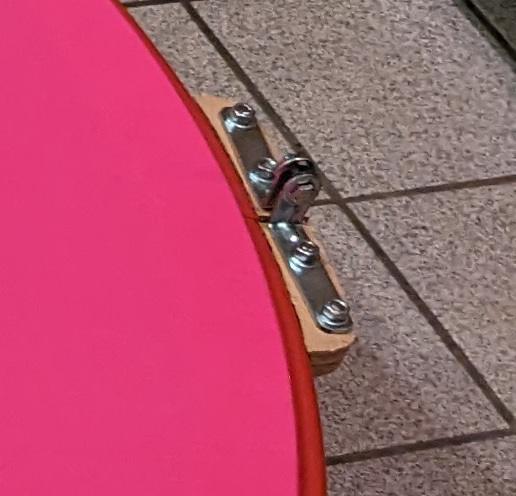
| This is how the ring is tensioned.
NEW IMPROVED For the 2023 version, I used
commercial angle brackets, cut down a bit.
|
|
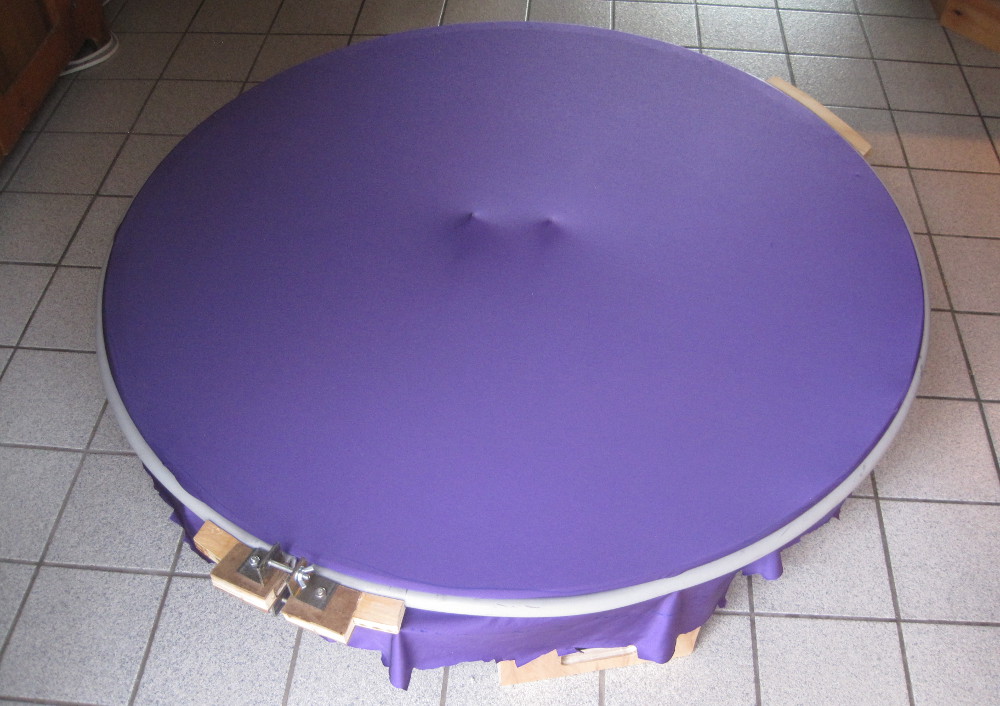
| These are the legs, upside down. The bolts you see are 1/4-20 threaded rod with wingnuts. In the hoop are holes with T-nuts, so these (dis-)assemble quickly. |

|
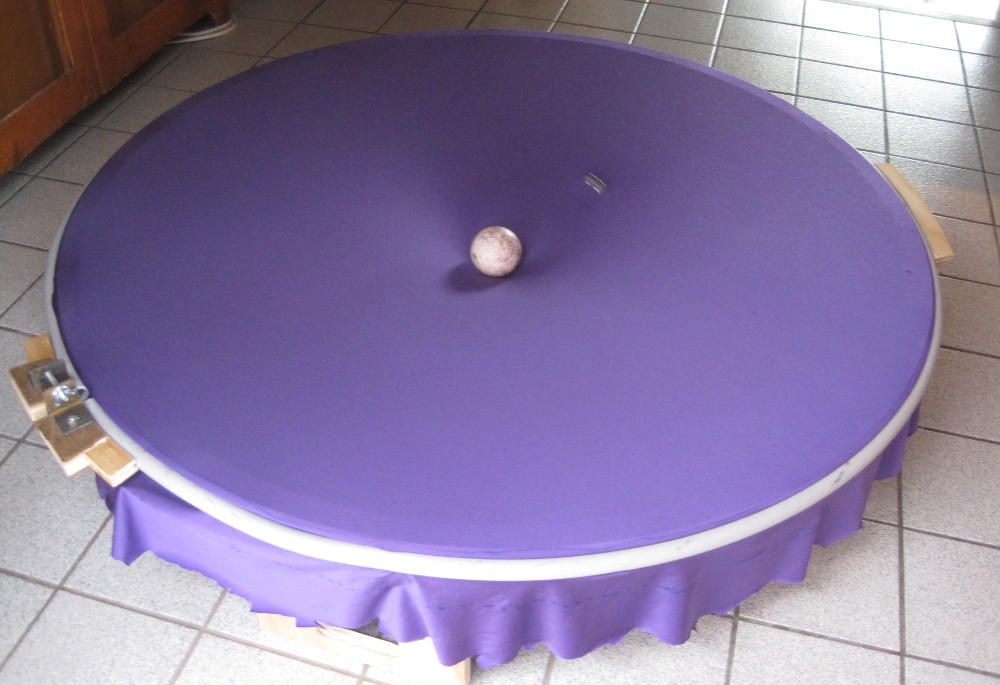
| Now you can do the standard demo where a large mass distorts the spacetime sheet, and you can put a marble into orbit around it, etc. |
|
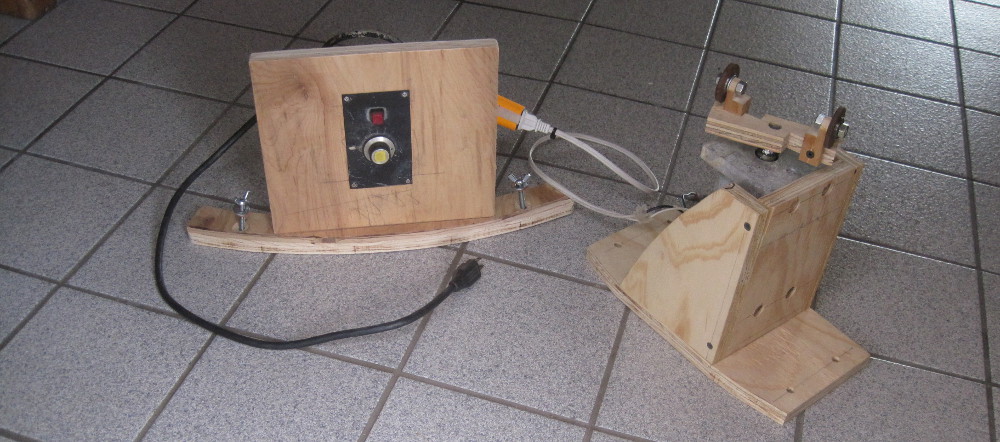
| Next is the demo of two black holes or neutron stars orbiting each
other. For this I had a variable-speed 110V motor, fitted with a cross arm
with 2 wheels on it (these are skate board bearings with masonite rings
fitted).
|
|
| This fits underneath the cloth.
However, when you set this going, you can't really see what's going on,
the waves in the cloth move too fast.
Stopped →
| 
|
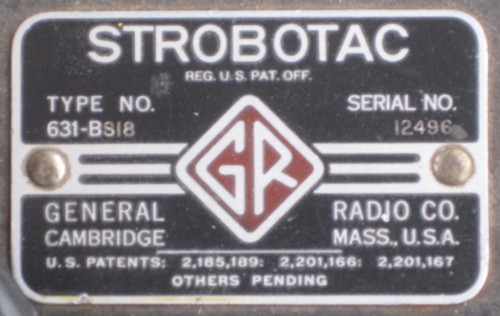
| In
Steve Mould's demo, he used the implicit stroboscopic functioning of a
digital camera to make the outgoing spiral waves visible in his video
recording.
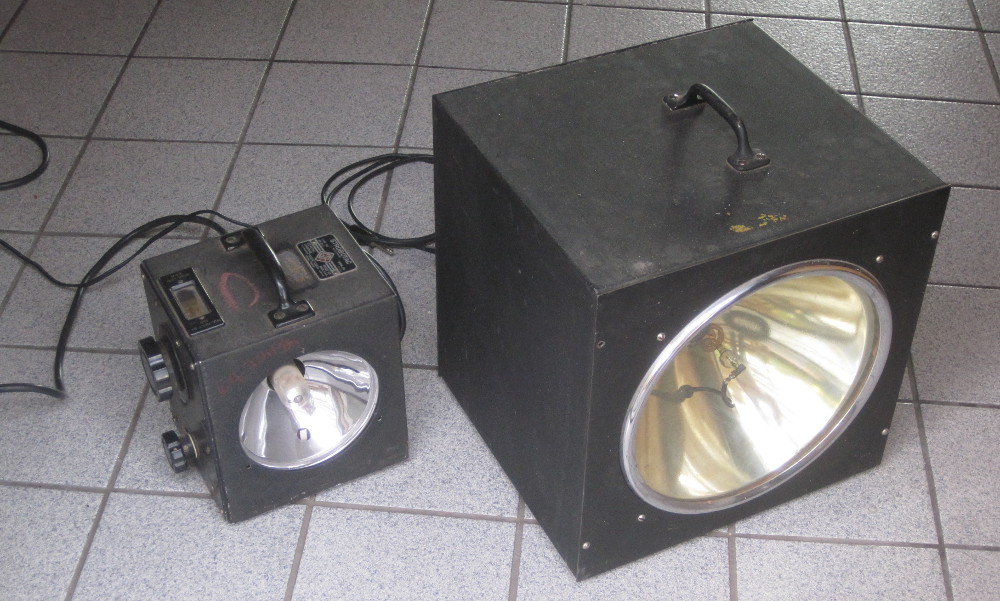
I suspect that in Dan Burn's video, the students (whose faces were not shown) were in fact looking at a computer screen showing a real-time video of the device that was standing in front of them. But if you illuminate the setup with a strobe light, you can make the outgoing spiral waves directly visible, which is what I wanted to do in the classroom. Luckily, I got these monster strobes long ago from the famous Los Alamos Black Hole. The little one is a neon strobe, and it can trigger the big, Xenon strobe. Both of these are antiques, and have tube circuits inside. Hope the tubes last. |
|
|
This is what
it really looks like.
Click on the image to play the video.
You can see the grey bands marching across the images, this is due
to the interference beween the strobe frequency and my phone's video
frame rate.
You can also see the waves reflecting off the outer frame. | 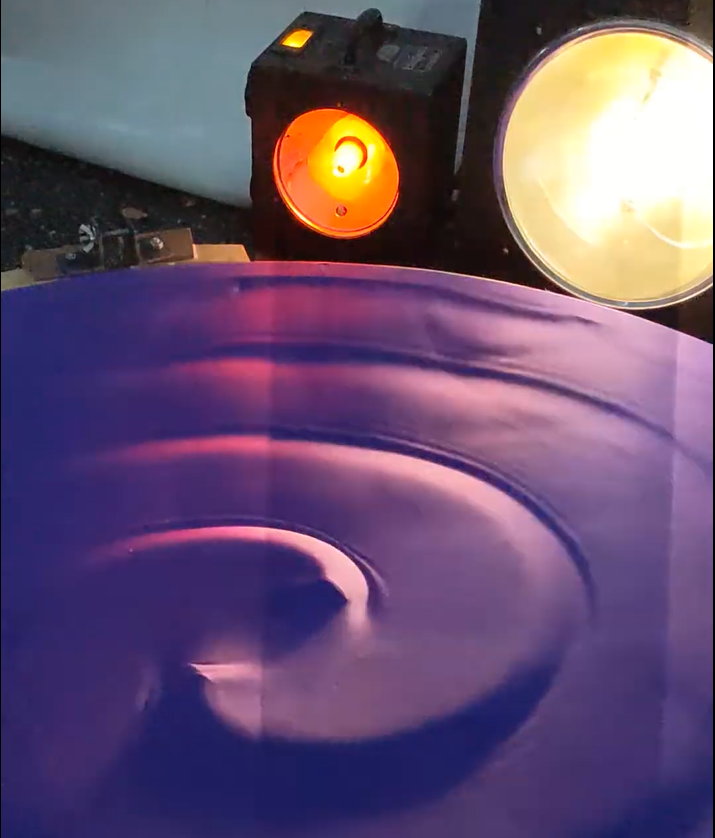
|
One day, these tube-powered strobes are going to fail. So I bought a pair of mini LED strobe lights. These were bright enough, but were too slow. My friend Steve custom designed new circuitry, such that one is the master and has sufficient frequency range, and the second one is a slave. (link to the electronics) | 
|


Hubert van Hecke Last modified: Mon Nov 12 10:06:44 MST 2018
back