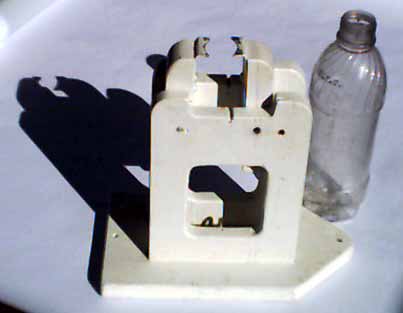
I - General construction and safety
We started with a 2-liter bottle so that we would have plenty of space to work in. First a general note on
the rocket construction: Since safety is always a prime consideration, we want to
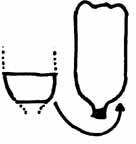
- not use any aggressive glues on the bottle
- be able to discard bottles that have seen too much abuse
- not have to rebuild the whole rocket when it is time to retire to bottle.
 |
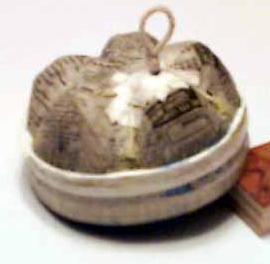 |
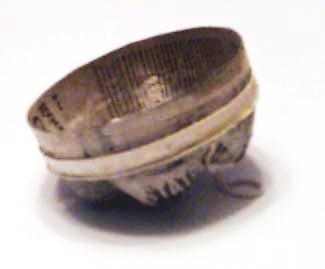
Now, when it is time for a fresh bottle, just slip the top and bottom off the old one, and fit them onto the new one. It is quick and reliable, and a great safety feature.
II - Bottom sleeve and fins
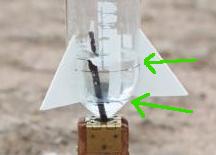 Nothing much to note here. We make the fins out of foam-core board, either three or four of them,
and use "Carpenter's Goop" glue to glue them to the sleeve. Though
we are not aware of a commercial glue that forms a true bond with the plastic of the soda bottles,
this one does a
good enough job. Sometimes I get ambitious and cut the foam at the edges so I can taper them. The bottom
sleeve also holds two attachment points for the rubber bands that go up and hold down the top - more
on that later. The top and bottom of the sleeve are indicated by the arrows.
III - Nosecone
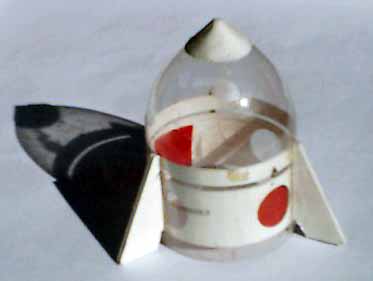
We make the nosecone from another bottle, with the nozzle cut off and replaced with a little paper cone. On the inside you see a narrow paper strip and a wide paper cylinder, with a gap in between. In this gap fits a foam or cardboard disk (not shown), We mount the timer release mechanism on top of this disk, and the space under it will hold the parachute.The nosecone rests on the ridge of white paper that is glued to the paper mache cap.
IV - Release mechanism
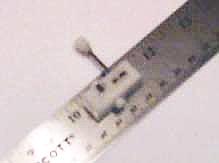
To time the release of the parachute, we use a Tomy Timer, ripped out of a small windup toy (in this case, a walking owl. On one side you can see the windup knob, and on either side is a little (eccentric) wheel. When you wind it up and let it run, the wheels go around about 3 times per second, and the windup knob goes much slower.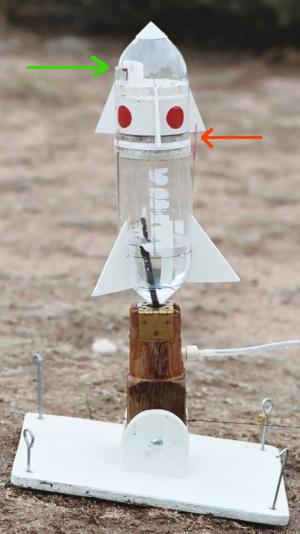 When the timer starts running, the string around the windup knob (green arrow) unwinds, ans eventually
the pin is pulled out of the knob. A that point the rubber band on the opposite side (red arrow)
pulls the nosecone off to the right and voila!

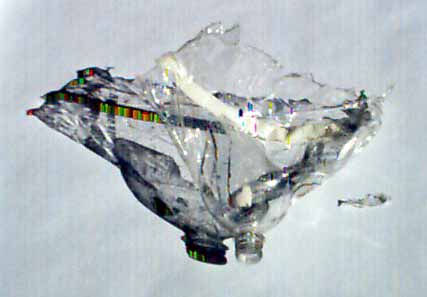
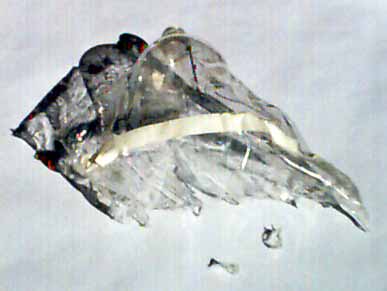 In Feb 2004 we decided to retire the 2-liter bottle which we had been using since the fall.
It had seen dozens of launches and hard landings. How much of a safety margin did we still have?
We decided to measure at which pressure the bottle would fail. We rolled up some chicken wire
into a cylinder that we placed over everything. We put in earplugs and stood back a good distance.
The bottle went at 170 psi.
Much of the bottle remained in one piece, but apparently the thicker sections of the bottom shattered into 1-cm pieces, of which we found a few. The nozzle was cracked. Looking closely at the masking tape, you could see that the plastic had stretched to the point where the masking tape had ripped into small sections.
Next time, we'll mark the bottle with a measured grid.
