>>>
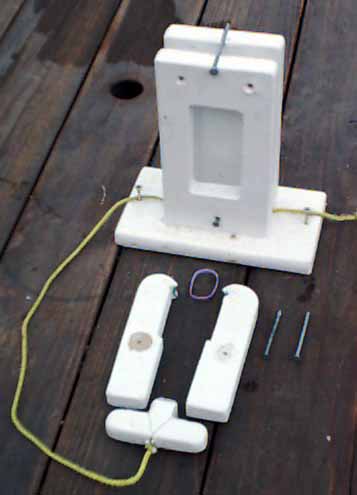
This is the first launcher I made. It sturdy and reliable. It is made from materials I could find around the house: particle board (horrors!), big nails, rubber bands, and bits of metal strip, and paint. No trip to the hardware store!This picture shows the launcher partially disassembled. There is the base, consisting of a base plate and two upright pieces. The tumblers are taken out, as well as the T-piece that prevents the jaws of the tumblers from opening. The T-piece is held up by the rubber band, which goes over the nail on top. The T-piece can be pulled down by the string, which runs around the nail at the bottom.
When you pull the T-piece down, it slides against the inside bottom of the tumblers. To reduce the friction, I put some plastic cut from gallon milk jugs on these surfaces. This stuff is hard to glue, and you can see I also tied it into place on the T-piece with some thin wire.

>>>
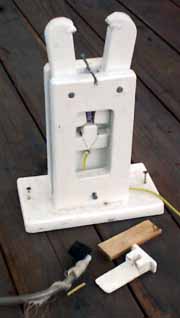
This is the launcher assembled, with the tumblers open. In the first version, the jaws of the tumblers that grip the bottle wore down quickly, so in this version the gripping surfaces are reinforced with little strips of galvanized iron (from some plumbers' strip).
>>>
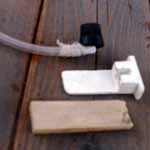
The rubber stopper fits over one end of a nylon elbow, and a 1/4" hose goes on the other end of the elbow. The white piece supports the stopper and elbow. You can see the slot where the elbow fits. The bare piece of wood is a small wedge that allows you to jam the whole assembly up into the bottle's neck.
>>>
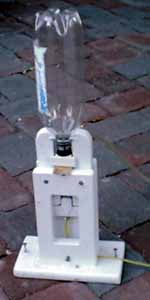
This is the launcher ready to go (well, almost). You can see the T-piece up between the bottoms of the tumblers.In the field, I have a bigger piece of plywood, which I can stake down with tent stakes. Then I screw down the launcher with the two drywall screws you see in the base.