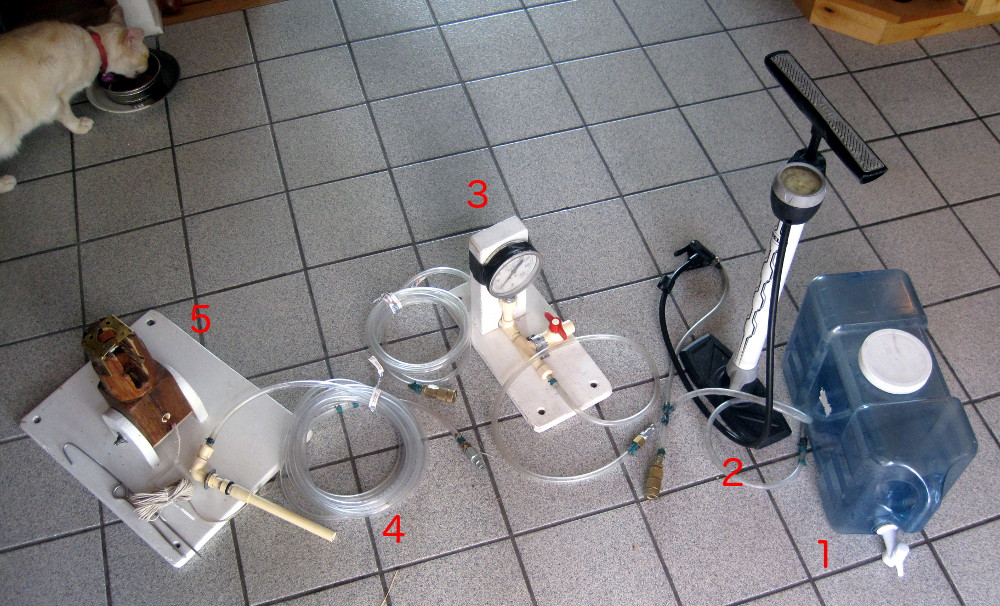
From the right to the left:
- Water tank
- Bike pump
- Pressure gauge and safety valve
- long hose with PVC pipe
- Launcher
| 
|
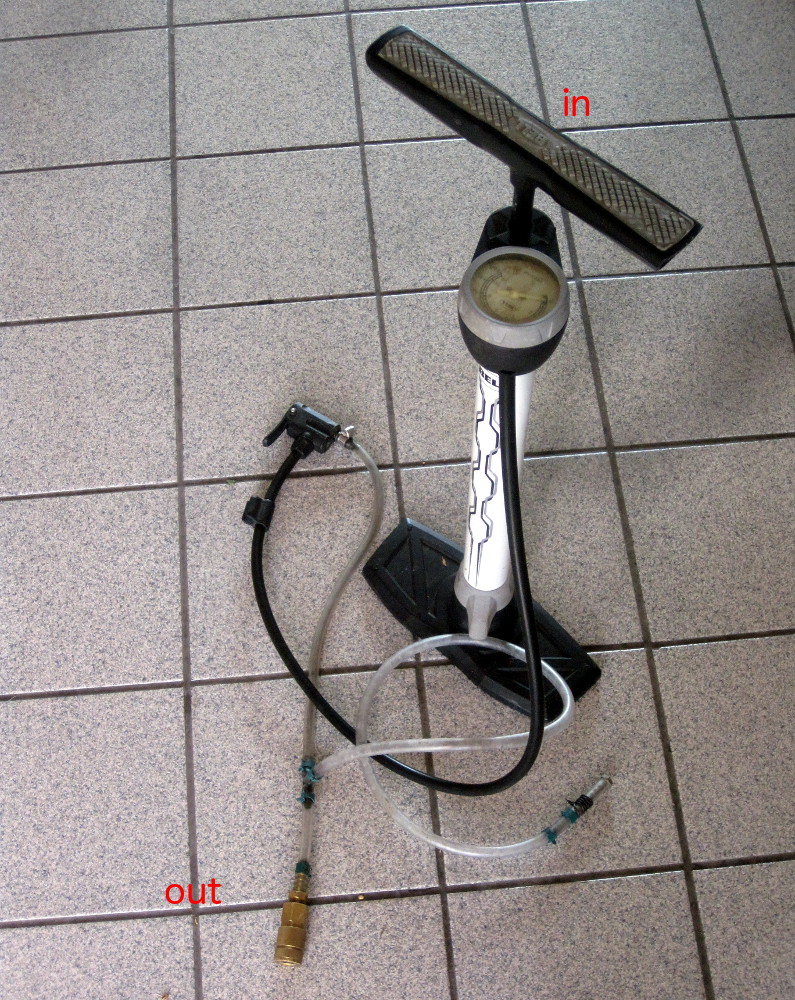
| First, the bike pump. A small section of hose should be already
connected. The hose connections you need to make are done with
quick-disconnect hardware

Forget about the pressure gauge on the pump, we've got a bigger one:
| 
|
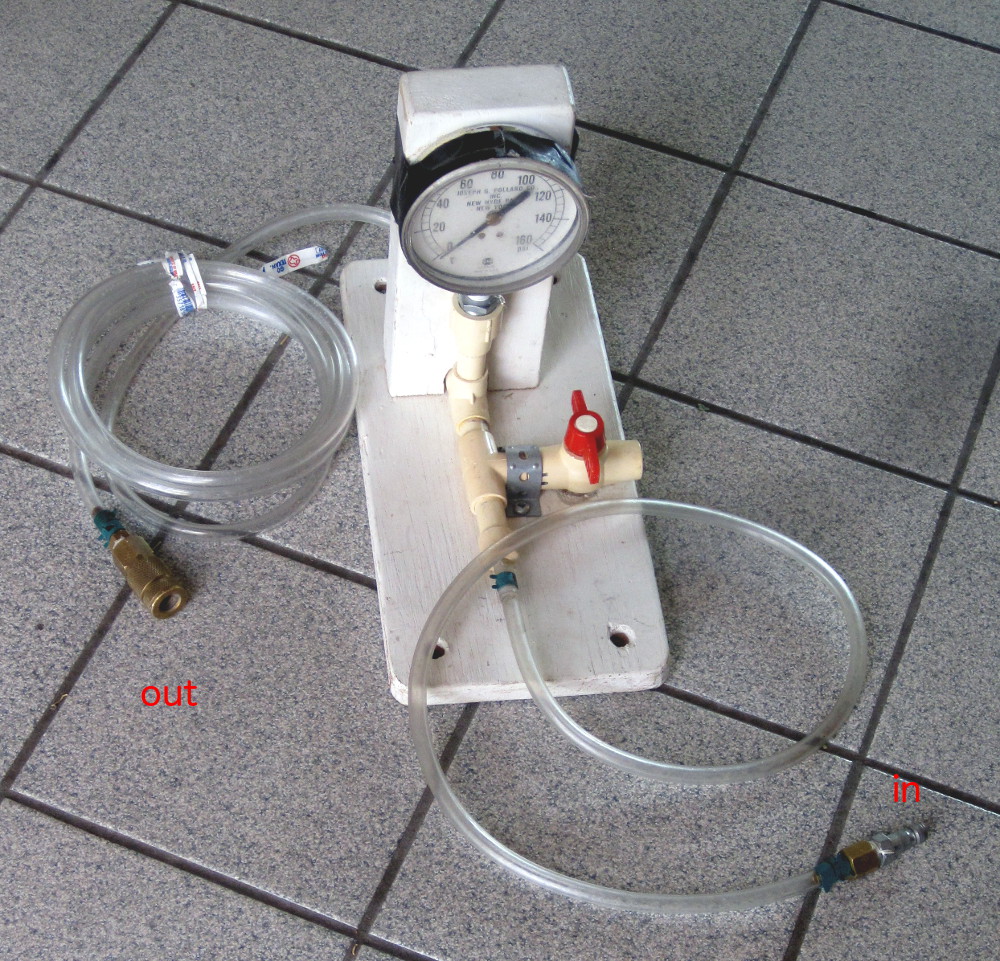
| Pressure gauge and safety valve
When the bottle is pressurized, no one shold go near it. If something goes
awry, you can open the red valve and release all the pressure before
trying to fix something.
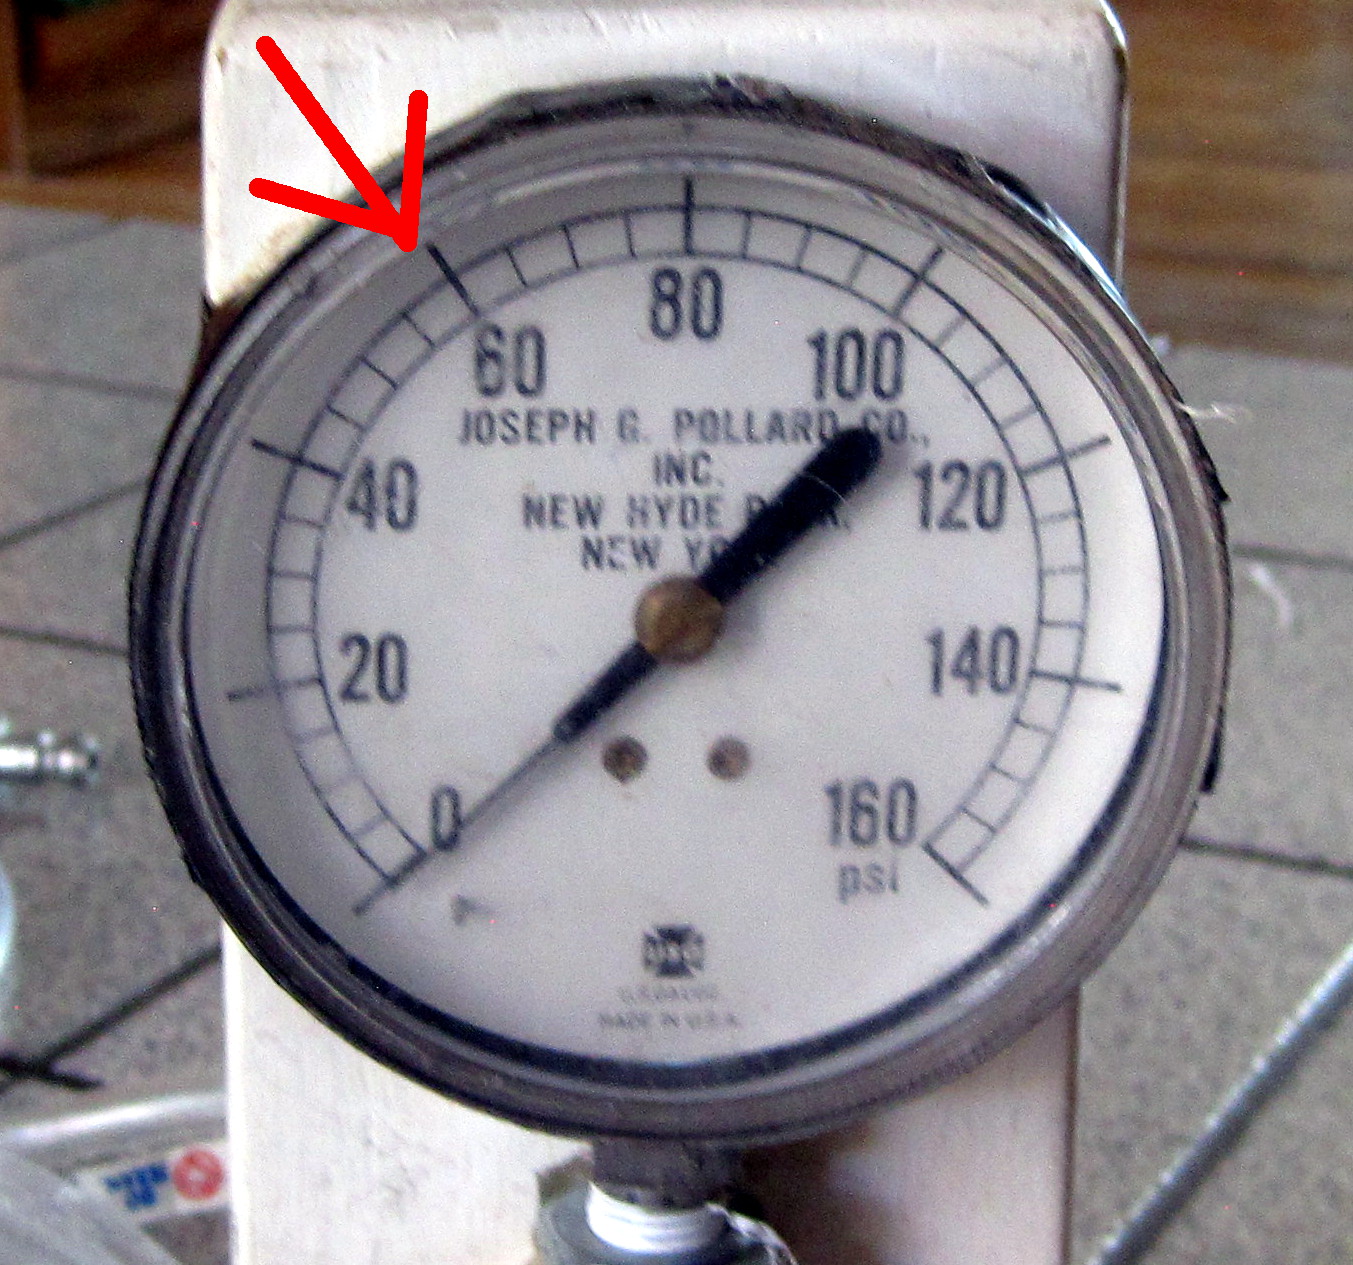
We typically go up to 50 or 60 PSI.
| 
|
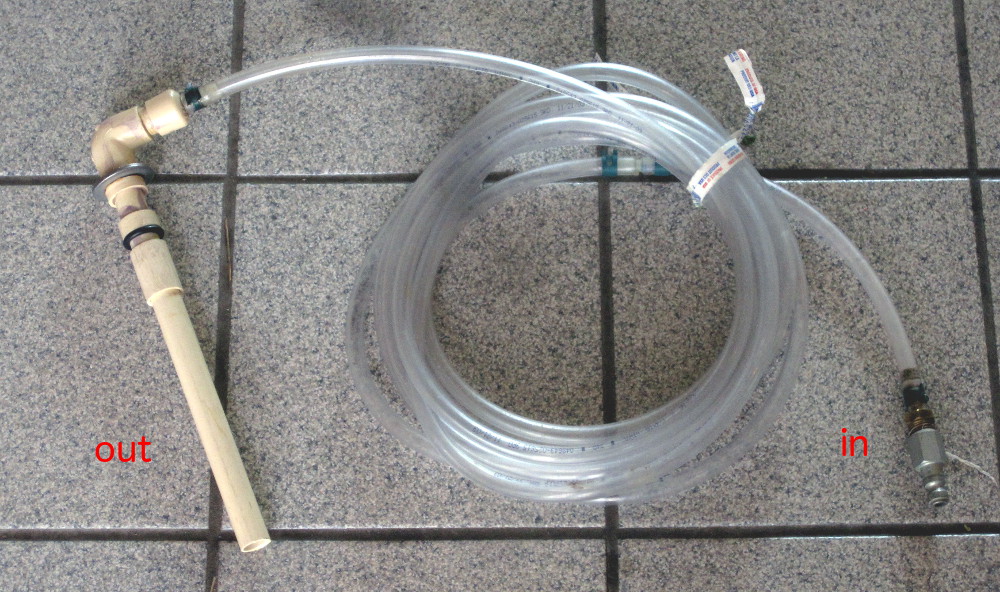
| The long hose goes from the pressure gauge to the launcher. I allows
you to put the launcher at a safe distance from where you stand to pump
and from where you pull the launch string
| 
|
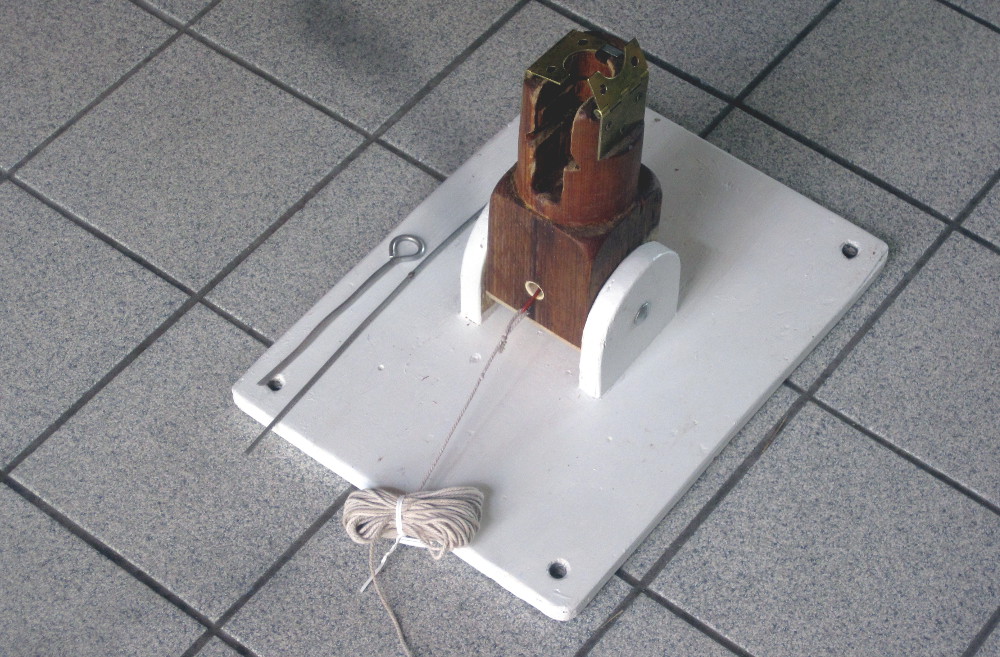
| The launcher comes with two tent pegs to keep the launcher in place,
and the string you pull to launch the bottle.
| 
|
| After laying out the hose and string and connecting everything,
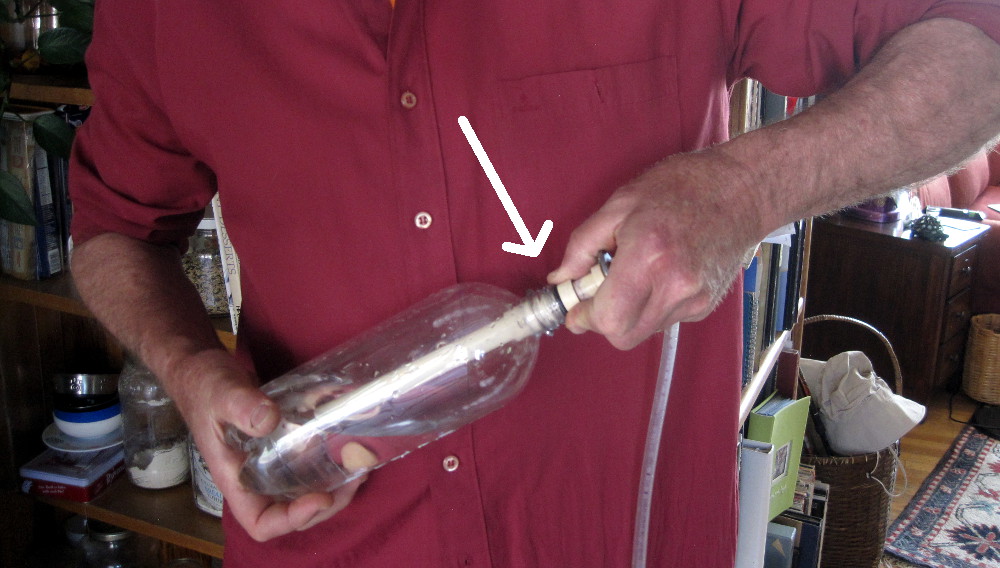
take a bottle, add water (or not), and push the PVC pipe into the bottle.
I hold the bottle at the bottom, and push and twist a bit until the O-ring slips in just a little bit. To make it easier, put a little vaseline (provided)
on the black O-ring
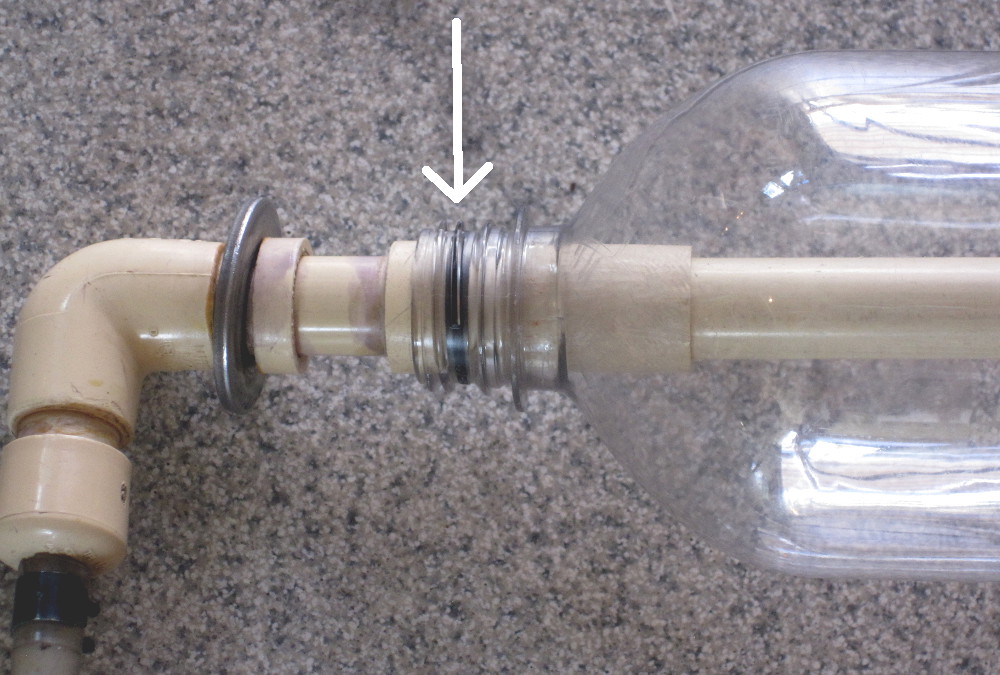
The O-ring needs to go in only 1/4" or so.
| 
|
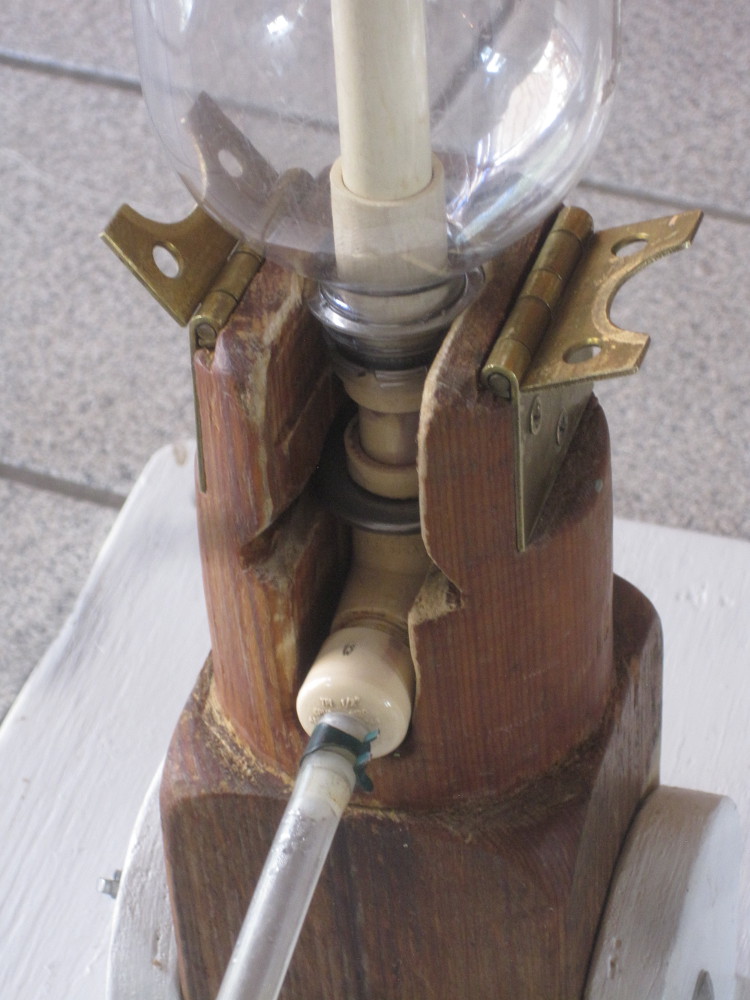
| Slide the assembly into the launcher from the side.
The metal ring goes into the slot
| 
|
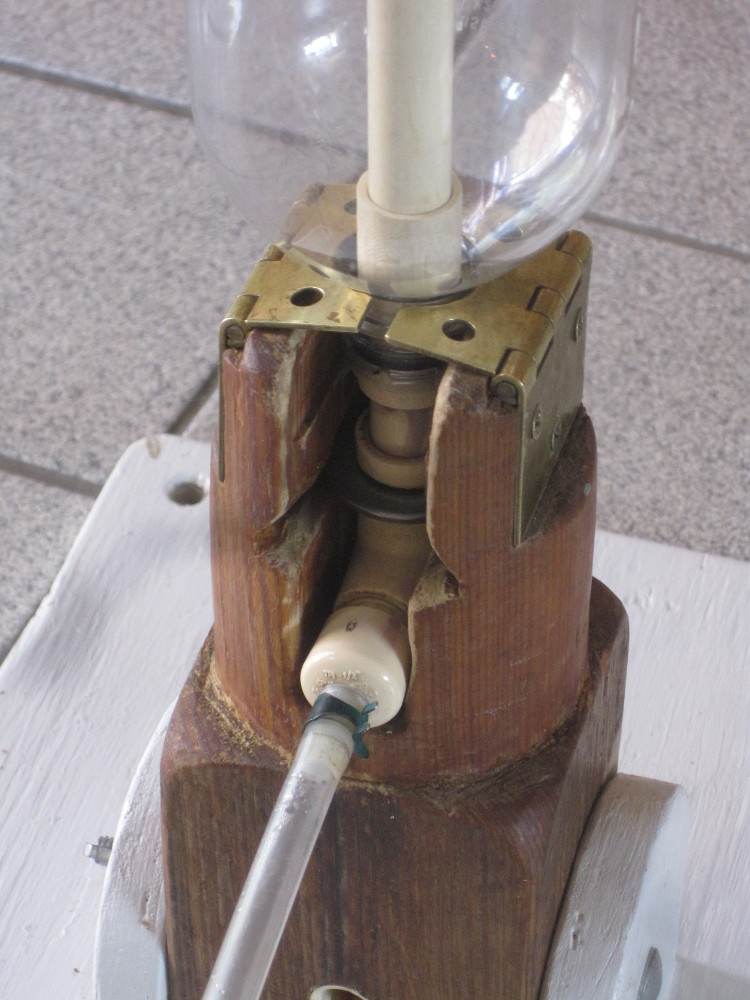
| Close the hinges
| 
|
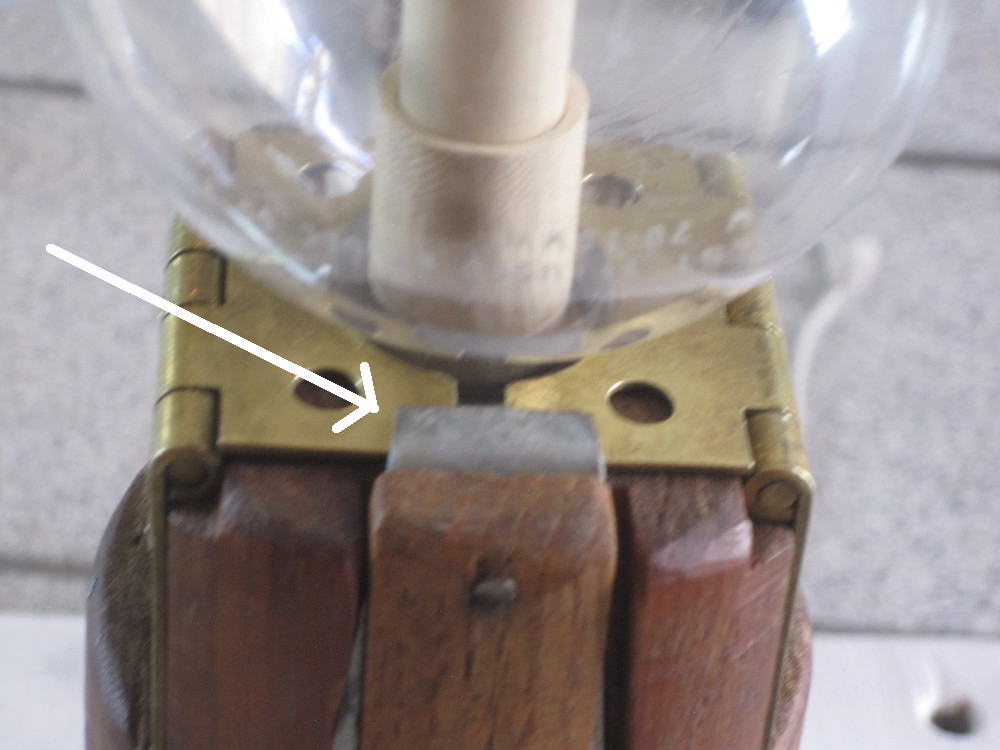
| On the back, close the latch over the hinges.
This keeps the bottle in place until you pull the string.
| 
|
Ready to go?
- Find a large space - the field at Wood Gormley is perfect for this.
- Lay out and connect the equipment. The launcher is far away from
everything and everyone else, and it is pegged to the ground
- Before starting to pump, make sure no one is near the launcher.
- If it is windy, you can tilt the launcher into the wind so your
bottles land nearby.

|