My friend Charles and I are building a Wimshurst machine, and we needed metal spheres to prevent corona discharges from parts that stick out. Since most of the metal parts are made of copper, we wanted copper spheres, hollow to save on weight and cost, about 1.25" diameter. We cannot find these for sale anywhere.
Dr. Antonio Carlos M. de Queiroz, owner of arguably the best website on Wimshurst machines in the world, has a page with links on how to make spheres by spinning, but that requires a good lathe with some special attachments. I don't even have a workshop, let alone a lathe. I also don't know how small you can go with this metal spinning method.
I remembered once reading about how hollow siver beads are made, and decided to try this out on copper. Here is a fairly simple way to make copper spheres with an absolute minimum in tools.
| On the left you can see the drawer handle I found in the
hardware store
***.
It is in the shape of a 3/4 sphere, and is made of cast
metal with polished brass plating. It has
a diameter of 1.25", which is close enough to what I wanted. I drilled a series
of dimples into pieces of scrap wood. Plywood (3/4") is fine, the other
material is high density fiber board, which works better, because it doesn't
splinter.
I made the drill bit out of a 1.25" spade bit. These are cheap, and made of not-so-hard steel, which is easily ground and filed into a semicircle. The procedure is simple: lay a copper disk over the shallowest dimple, hold the drawer handle in the middle, and bang on it with the hammer. When you reach the bottom, proceed to the next dimple. | 
|
| I started with 2" diameter disks. Here you see some in various stages along the way. You can see that the material wants to buckle around the outside, but you keep on flattening the rim when this happens. | 
|
| Closeup of one of the blocks, with the drawer pull, and one of the units that is pretty far along. At this stage, I start tapping the rim up around the handle. | 
|
| As you hammer the copper, it becomes less malleable due to 'work hardening'. When you notice this, get out the propane soldering torch and heat your piece. This will anneal the metal and make it soft again. You will have to anneal several times along the way. | 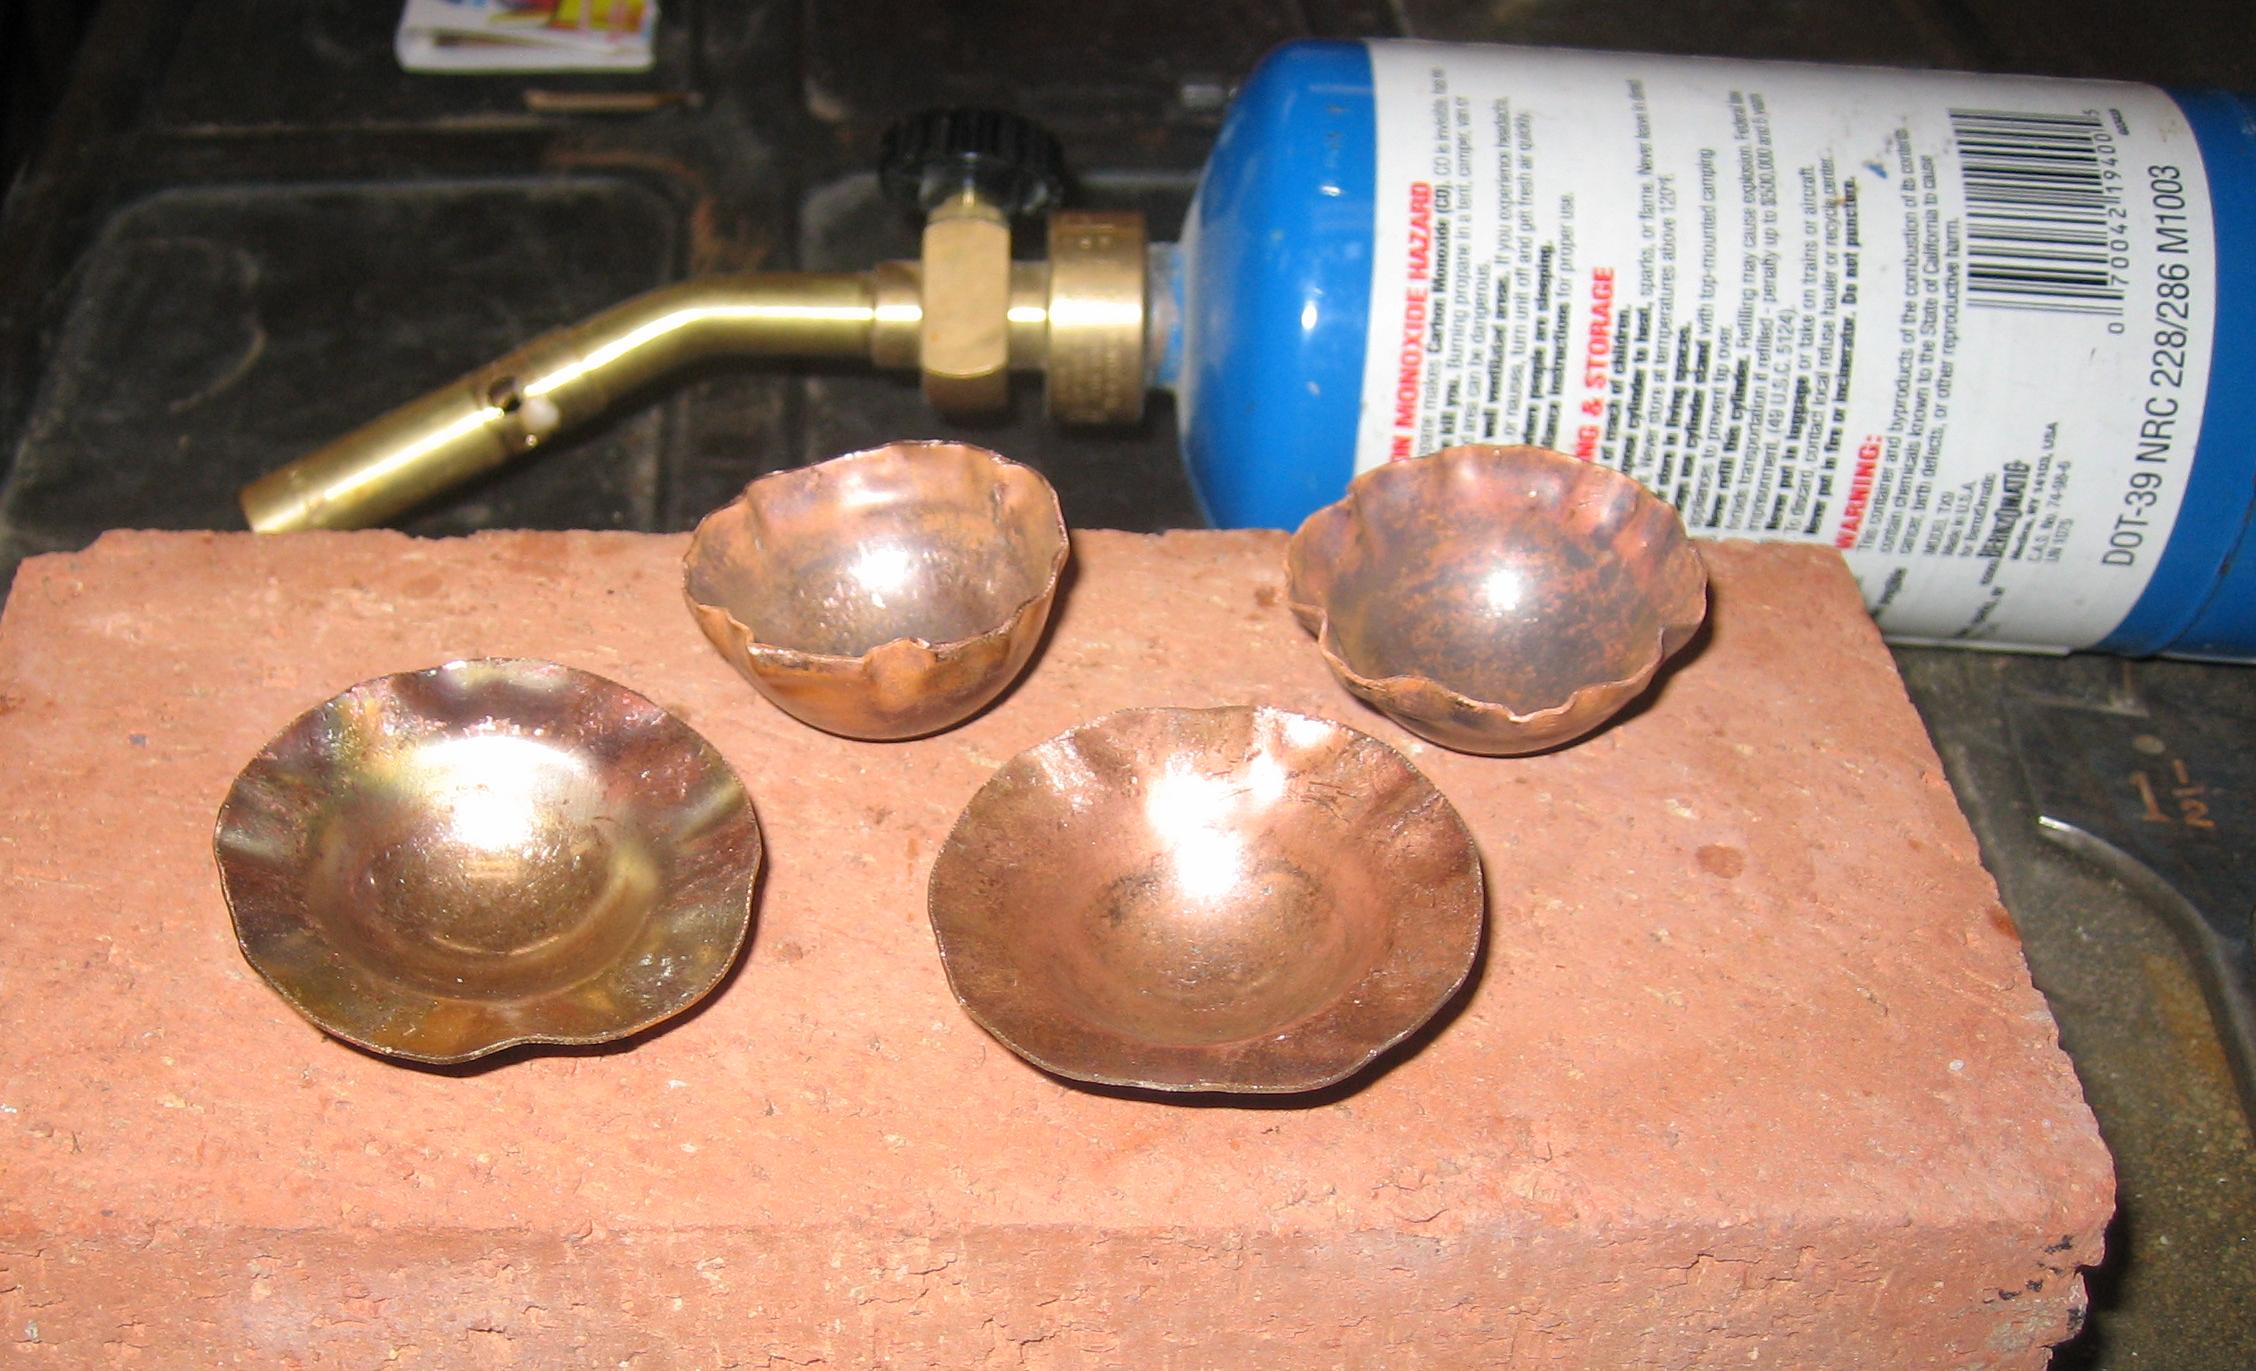
|
| The 2" disks are a little too big, and I cut some of the rim off, making sure that there remains at least enough for 1/2 sphere plus a few mm extra. | |
| File and sand the rim until you have exactly 1/2 sphere. If you put the piece in one of the deepest dimples, you can use a file for rough work, and then sand the rim flat on sandpaper. Test the height with a little cardboard cutout that is cut to exactly the right height. The final sanding of the rim should be done with very fine sandpaper on a hard flat surface. | |
| I clamp the two halves together, and solder them. I'm sure there are better ways to clamp, but this works - quick and dirty. | |
| All that remains is sanding and polishing. I take the extra solder off with a file, and the rest is done with a succession of a flexible automotive sanding pad, fine steel wool and finally silver polish. The fit between the two halves is so good that you cannot find the solder seam after this, so if you need to drill into the sphere, it may be best to mark your spot with a tiny pilot hole before you do the soldering. |
*** On Homedepot.com, search for 'liberty ball top knob'.